Craftdot
Printable Recipe Cards
Free ruled recipe cards, four to a page, in Letter and A4. Print, cut, write. No signup and nothing to fill in online.
No email or signup. Printing instructions are below.
On this page
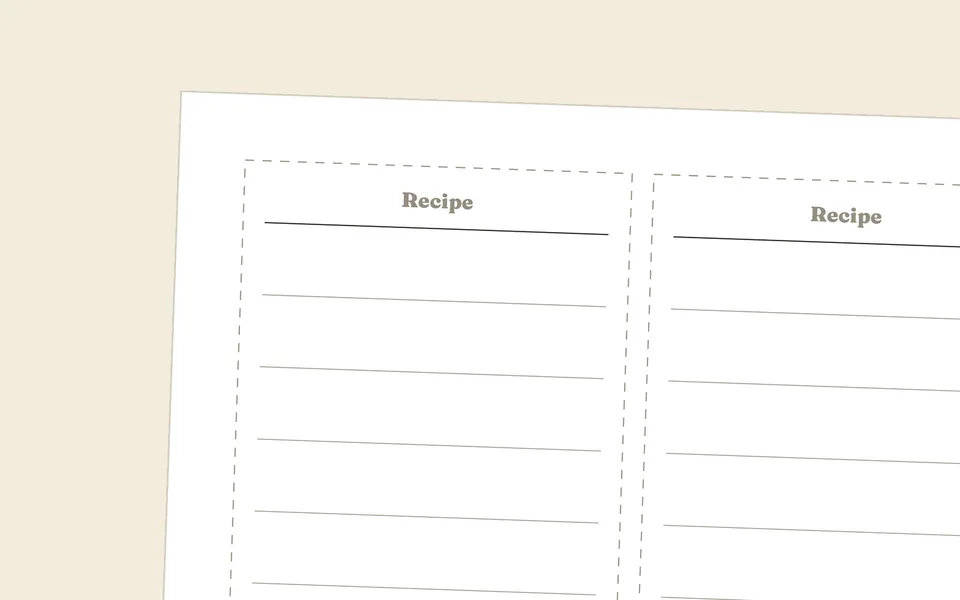
You will finish this with four ruled recipe cards off a single sheet, cut apart and ready to write on. Six minutes, scissors only.
These are handwriting cards. Ruled lines, room for a title, nothing else. We left them plain on purpose, because a recipe card gets splashed, propped up, and handed to someone else, and a busy card is hard to read at arm's length with flour on your hands.
Download: Recipe cards, free PDF, Letter + A4. No signup, no tricks.
What you need
- The PDF
- Card stock, ideally, because plain paper works but will not survive the kitchen
- Scissors, or a craft knife and a ruler
- A pen that does not bleed through
Steps
-
Print the page size that matches your paper. Letter and A4 pages are both in the file. Print one, not both.
-
Set Actual Size in the print dialog. Fit to Page may scale the sheet down, making the cards smaller than their designed size. The cut lines scale with the cards; follow them when cutting.
-
Print one test sheet on plain paper. Check that all four cards are complete and the ruled lines run the full width. If the bottom card is clipped, your printer's margins are tighter than average, so reprint at 98% and accept slightly smaller cards, which is a better outcome than a card missing its last line.
-
Load card stock and print for real. Around 200gsm is the sweet spot: stiff enough to prop against a bowl, thin enough that a home printer will feed it. Feed card stock one sheet at a time if your printer is fussy about it.
-
Cut the sheet into four. One cut across the middle, then one down each half. Cutting the long line first keeps the sheet stable under the blade. If you are using scissors, cut just inside the printed line so no line shows on the finished card.
-
Write the title first, then the ingredients, then the method. The ruled lines are sized for normal handwriting, not tiny writing. If a recipe will not fit on one card, use two and write "1 of 2" in the corner, because squeezing it in is how you end up unable to read your own quantities.
-
Let the ink dry before stacking. Card stock is less absorbent than paper, and a fresh stack will offset every card onto the one below it.
Making them last
Kitchen cards get ruined by grease long before they wear out. Two honest options. A strip of clear tape laid across the front, corner to corner, protects the area you will actually splash and takes ten seconds. Or slip the finished card into a clear sleeve when you cook and take it out afterwards, which keeps the card pristine but only works if you remember. We use the tape.
If you are laminating properly, cut the card slightly smaller first so the seal has a margin to grip.
One variation
Punch a hole in the top-left corner of every card and put the whole collection on a single split ring. It hangs on a cupboard hook, flips like a notepad, and stops the cards migrating to the bottom of a drawer. Punch the holes before you write, so you never lose a word to the punch. The corner-punching and hole placement advice in our gift tags guide applies here exactly.
For a card you are giving rather than keeping, so a recipe written out as a present, write it on the card, then mount the card on a folded piece of heavier stock using the score, don't cut card fold. People tend to keep that version.
Download: Recipe cards, free PDF, Letter + A4. No signup, no tricks.
Before you go
Print two sheets and write out the four recipes you actually cook most, not the aspirational ones. Those are the ones that end up splattered, which means they are getting used.
Common questions
What weight of card stock is best for recipe cards?
Around 200gsm is the sweet spot: stiff enough to prop against a bowl, thin enough that a home printer will still feed it. Feed it one sheet at a time if your printer is fussy about card. Plain paper prints the cards perfectly well, but it will not survive the kitchen, so save it for the test sheet.
How do I stop recipe cards getting greasy and ruined in the kitchen?
Lay a strip of clear tape across the front of the card, corner to corner. It takes ten seconds and protects the area you will actually splash, since grease ruins kitchen cards long before they wear out. The other option is to slip the card into a clear sleeve while you cook and take it out afterwards, which keeps it pristine but only works if you remember. We use the tape. If you would rather laminate properly, cut the card slightly smaller first so the seal has a margin to grip.
Why is the bottom card clipped when I print the sheet?
Your printer's margins are tighter than average. Print one test sheet on plain paper and check that all four cards are complete, with the ruled lines running the full width. If the bottom card is clipped, reprint at 98% and accept slightly smaller cards, which is a better outcome than a card missing its last line.