Craftdot
Paper Fortune Teller Template
A square template with the fold lines drawn in and the eight flaps already numbered. Decorate it first, then fold. Free PDF in Letter and A4, no signup.
No email or signup. Printing instructions are below.
On this page
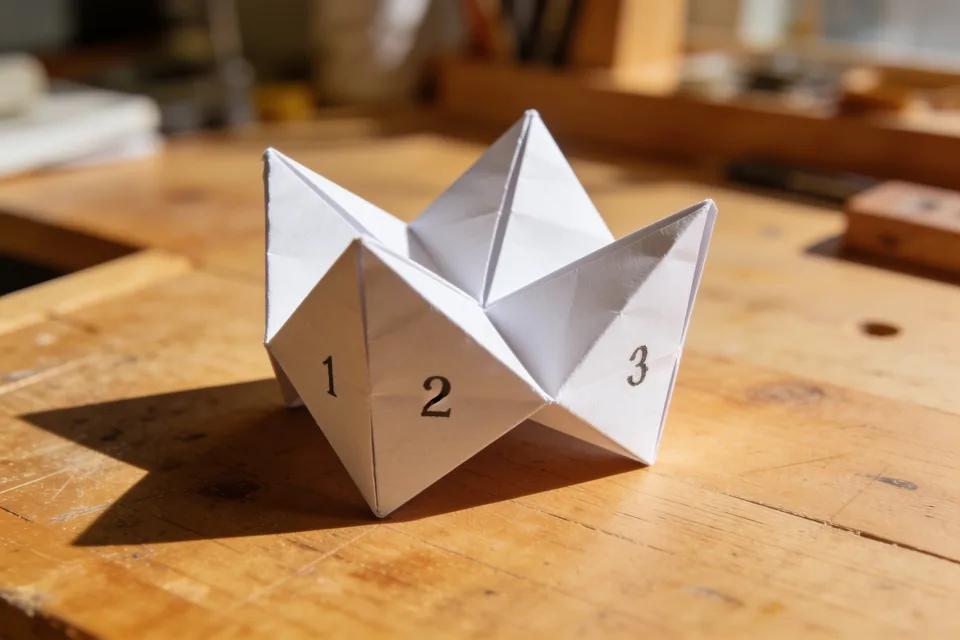
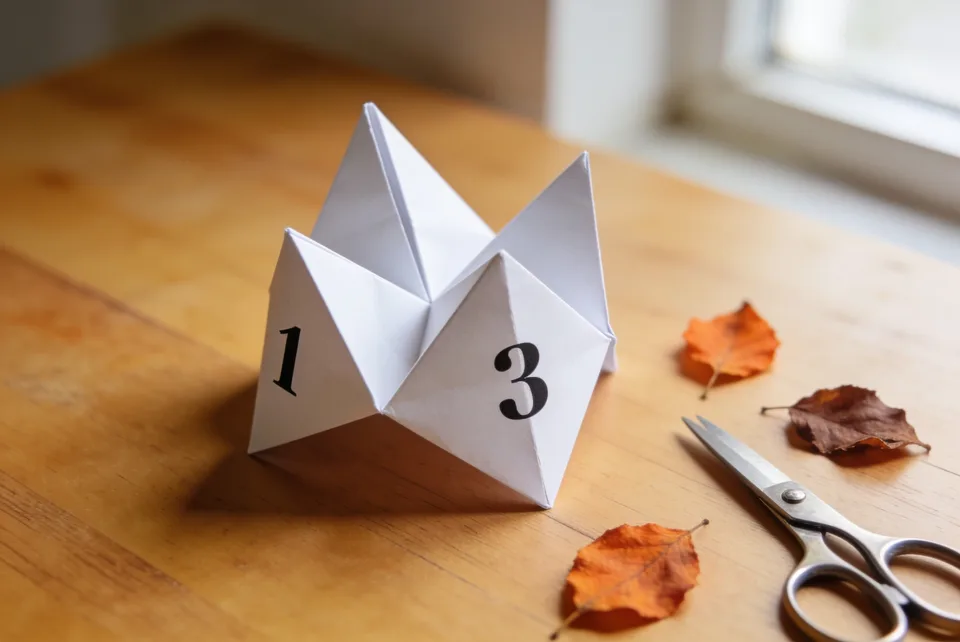
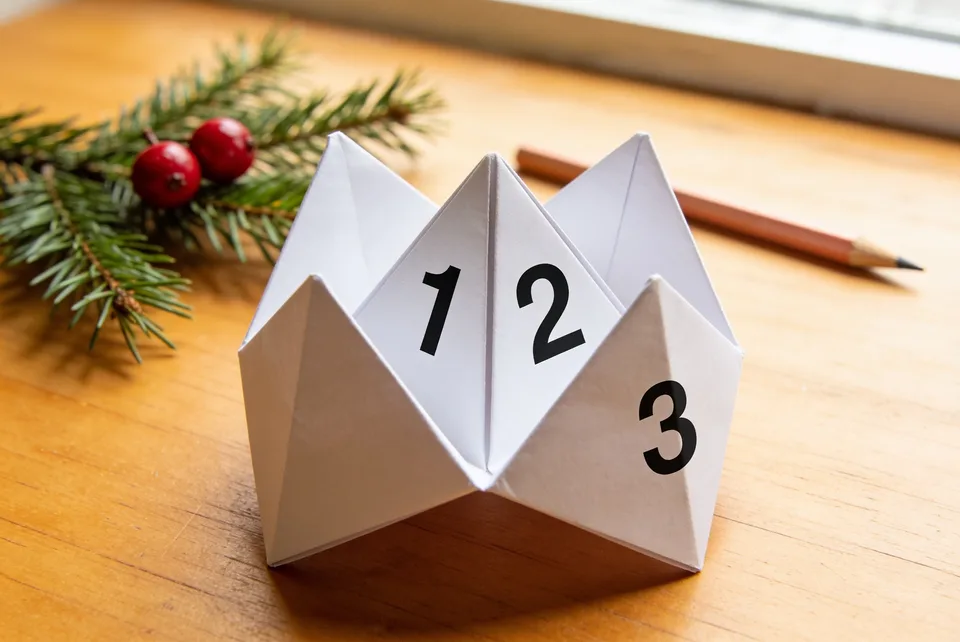
You know this one. Four fingers in, pinch, open, close, pick a number, read your fortune. Fifteen minutes start to finish, and the folding is easier than you remember.
The template is a printed square with the fold lines drawn in and the eight flaps already numbered. The dashed line around the outside is the cut line. Everything inside it is a fold, and the heavy diamond is the first one you make. Decorate it flat, on the table, while it is still easy to write on, then fold. Folding first and writing second is the mistake almost everyone makes, and it turns neat handwriting into cramped scrawl inside a paper pocket.
Download: Fortune teller template, free PDF, Letter + A4. No signup, no tricks.
What you need
- The PDF, printed one-sided
- Plain paper, thin is better here, card stock will not fold
- Scissors
- Pens, pencil crayons, or markers for decorating
- About fifteen minutes, ten of it decorating
Thin paper genuinely matters. A fortune teller is eight layers of paper at the centre. Anything heavier than ordinary copy paper fights back at the last fold and never sits flat.
Steps
-
Print at Actual Size and cut out the square. The dashed line around the outside is where you cut. Cut along it. The square must be a true square, because if two sides differ by even a few millimetres, the finished points will not meet and the toy will sit lopsided.
-
Decorate now, while it is flat. Colour the four corners of the square, leave the eight numbers alone, and keep the eight triangles in the middle diamond free for the fortunes. Do all of it before a single fold.
-
Write the eight fortunes. Small, and inside the eight inner triangles. Keep them short and kind: "you will find something you lost", "you owe someone a compliment". Eight is more than it sounds; a list on scrap paper first saves you from a blank pause at number seven.
-
Fold corner to corner, both ways, then unfold. Two diagonal creases, sharp, edge lined up carefully. Press each crease with a thumbnail. These two folds set the centre point and everything else hangs off them.
-
Turn the sheet printed side down before you fold anything in. Numbers and fortunes against the table, blank side facing you. It feels wrong, and it is the step that decides whether your decorated corners end up on the outside of the finished toy or hidden inside it. The sheet says so under the square too: fold on the lines, printed side down.
-
Fold all four corners into the centre. The heavy diamond is the line you fold on, and the four points meet in the middle. You now have a smaller square with four triangular flaps, and your coloured corners are looking back at you.
-
Flip it over and do it again. Four corners into the centre, second time. This is the fold people forget. Flip, then fold, not fold, then flip. The eight numbers come up facing you as you finish this one.
-
Fold the whole thing in half, numbers inside, and slide your fingers in. Crease it in half, open the four pockets on the underside, and slide thumbs and forefingers in. Work it open and closed a few times to loosen the creases.
The gotchas, before they bite
- Sharp creases only. A soft fold makes a floppy toy that will not open cleanly. Run a thumbnail along every crease.
- Write the fortunes on the printed side, the same side as the numbers. Everything you add, the coloured corners and the eight fortunes, goes on the face that already has the numbers on it. Nothing goes on the blank back. In the finished toy your coloured corners are on the outside, the numbers are what you see when you open it, and each fortune is under the number it sits beside. Write on the back by mistake and the reveal is spoiled.
- Only cut the dashed outer line. Everything inside it is a fold. The heavy diamond in the middle is the first fold, not a cut, and cutting it takes the toy apart before you have made it.
Download: Fortune teller template, free PDF, Letter + A4. No signup, no tricks.
One variation
Swap the fortunes for chores and it becomes the fairest job picker in the house. You could also write eight dares, or eight compliments, or eight dinner ideas if deciding what to eat is a nightly argument at yours. The folding is the same either way. Only what you write inside changes.
Before you go
The two folds you just practised, corner to centre and the sharp diagonal, carry a surprising amount of paper craft, and we cover them properly in the five paper folds every crafter uses. If the table needs a second thing to do afterwards, the printable tic-tac-toe boards need nothing but two pencils.
Make a second one if you have paper left. It usually comes out neater than the first.
Common questions
Should I decorate a fortune teller before or after folding it?
Before, while the sheet is still flat on the table. Folding first and writing second is the mistake almost everyone makes, and it turns neat handwriting into cramped scrawl inside a paper pocket. Colour the four corners, leave the eight numbers alone, and keep the eight triangles in the middle diamond free for the fortunes. Of the fifteen minutes this takes, ten of it is the decorating.
Which side of the paper do the fortunes go on?
The printed side, the same face that already has the numbers on it. Everything you add goes there, the coloured corners and the eight fortunes, with nothing on the blank back. In the finished toy the coloured corners end up on the outside, the numbers are what you see when you open it, and each fortune sits under the number it was written beside. Write on the back by mistake and the reveal is spoiled. Keep the fortunes short and kind, like you will find something you lost.
Will card stock work for a fortune teller?
No, thin paper is the right choice here. A fortune teller is eight layers of paper at the centre, and anything heavier than ordinary copy paper fights back at the last fold and never sits flat. Print the template one-sided on plain paper and save the card stock for something that stays flat.